Navbar

Image Map

Tuesday, December 31, 2013

Christmas: a week in review


Its been one busy week.  Did you all have yourselves a Merry little Christmas?

The Friday before Christmas I got to hang out with my beautiful friend Beth in Chicago for a day.  

We braved the yucky cold and drizzly weather and made our way around downtown Chicago.  We ate at the Walnut Room, shopped at some pretty great stores (you know who you are Crate and Barrel), and ran for our lives so we would not miss our train.  Picture me - arms full of shopping bags, booking it 0.6 miles through downtown Chicago.  But we made it and we laughed for a good while after that.

Oh and I finally got to see The Bean! 
 
I had never been there before, which is pretty surprising. So we had our obligatory Bean photo shoot.


The next day I made my way back home and my mom and I made Sea Foam candy.  Have you ever had it? It is a Christmas tradition around the Kercher household.  We always used to buy it from South Bend Chocolate Company until the price got pretty ridiculous.  $18.99 for one pound.  And our family needs a lot of pounds.  So a couple years ago I decided to find a recipe and see if we could make it ourselves.  We could and we did!  It was every bit as good as the stuff we were used to getting from SBCC. We made about 8 pounds this year.  And we spent maybe $30 on chocolate.  Are you calculating the savings?... they are pretty significant!  Here is the link for the recipe we used. It takes several hours - mainly because we double dip them in chocolate.  But you can use that as an opportunity to watch your favorite christmas movie. Or instead you can watch a war movie like we did, Red Dawn.  :-|

That is what happens when the men have control of the remote.  We asked for a Christmas movie and instead we got a North Korean invasion.  And the boys got a lot of  "What just happened?" and "Well, why did he do that?"  

There's an hour and a half of my life I'll never get back.  Oh well, at least I've got some Sea Foam!


Moving on.  Michael and I enjoyed Christmas services at our own church and with my family.  We had the Christmas service for our church the Sunday before Christmas.  I love how they do a time for family communion.  It is such a sweet tradition and one that has become special to me.  Then on Christmas Eve we went with my family to Midnight mass (at 10:30).  I always love this service.  The music is beautiful and they do a wonderful job decorating the church. 
 
Then it was Christmas and that meant presents in the morning with my family and with Michael's mom in the afternoon.  It was really good to be able to FaceTime with Michael's sister Jenelle and her boyfriend Jr who are living in Las Vegas and were not able to make it home for Christmas.  We missed having them here but are super thankful for technology that can shorten the distance a little.  Christmas night I made the first real meal in our home.  What a special way to spend our christmas evening - pork chops and Elf.  I can't think of anything better!  It was special to have Michael's mom there with us to share in such a milestone.

The next day we had our annual get together with some of our college friends that live in the area.  This has been the 5th year that we have congregated together for Christmas festivities.  Each year it has looked a little different but the constant aspect of it is that we gather at our friend's Grant's family's home.  It is a beautiful 3-story Victorian home.  Its so idyllic to spend time there around Christmas.  But this year we decided to do a progressive dinner. Drinks at Kara's, Appetizers at the Blough's, Salad at Lindsey's, and Soup and Dessert at Grant's.

It was a fun excuse to get our house put together since we had only been living there for about 5 days at that point.
During our party we had a "gift" exchange.  Instead of buy each other physical gifts, Lindsey suggested we should donate to a organization in each other's name.  We all were randomly assigned a name and we chose an organization/cause to donate to in that person's name.  Something that reflected the person's own heart and interests.  I loved this idea! Kara had our names and put money toward a housing project at an orphanage in Tanzania, knowing our heart for anything home.  She also donated toward Compassion International and leadership development, knowing of our love for discipleship.  Thanks Kara! You sure do get us!  It was a really sweet way to honor our friends and refocus during the busy holiday season.  

Michael and I did not exchange gifts this year.  We have already been given so much in 2013 with our home.  We are so thankful. I can't believe we are finally here! Living in our year long project! You've got a lot of living up to 2014!

How was your Christmas?  Receive any extra special meaningful gifts? I'd love to hear about it.


Sunday, December 22, 2013

Kitchen Before & After


Once upon a time there was a nurse and a nerd.  They fell in love, went to college, got married, moved back to their hometown, and saved like crazy in order to purchase a little place of their own.  After searching a couple months for a home, the nurse's dad said, "Hey! We are buying some land and it comes with a house.  Want to come and look at it with us?" The nurse and the nerd said, "heck yeah!" They love looking at houses, even if they weren't going to buy it.  Little did they know, they were about to set eyes on their forever home.  Seeing the dilapidated, worn and dusty surface did not scare them off.  No,they quickly became very interested in the home for its many features: view of the river, location, great potential, and one great price.  "Let's do it," they exclaimed! And they set off to do just that.
Fast forward 5 months and the Nurse and the Nerd finally and officially purchased the property.  The very day after they signed their names on the dotted line, they set out to work.  They tore up the carpet, they pulled out bushes, cut down trees, ripped down ceilings, broke down walls, swept, swept, and swept some more.  And with sheer determination, imagination, and a saintly uncle... they started to put it back together again.  Electrical, plumbing, floors, drywall, siding, windows, and the list goes on and on (and the bank account goes down and down).  Slowly but surely, little by little, it started to turned into their dream home.  And a full year after the nurse and the nerd saw their future home, they moved into it.  And now the nurse and the nerd stand around gazing at all that has changed.  In the kitchen they remember the wall thar blocked the view of the river.  They walk into the bathroom and remember all the walnuts they found hiding under the tub.  They laugh about how, at one time, they could see clear from one end of the house to the other.  When the nurse thinks back about what the house used to be, she can still smell the stale smell of a house longing to be loved.  And then she looks around at her well loved home and smiles. 

So on that note, would you like to see?

I thought you might. 

Over the next couple months, I will be revealing more before and afters of our fully renovated 1st floor.  Lets start with the big guns.  The Kitchen. 
The biggest thing we wanted to change about the kitchen was to open it up into the dining room and living room.  The picture above was taken from the living room.  Below is a picture from the same angle from before the renovation.

 Here is another before and after shot:
 If you can tell, the basic layout stayed about the same - stove and sink remain in the same spot.  However, we took out the entryway to the hall and replaced it with our refrigerator.  Where our current pantry is, there used to be a door leading to the backyard.  Both those changes allowed us to create a larger kitchen footprint - and who doesn't want that?  Taking down the wall allowed us the opportunity to put in a large island.  And we removed the linoleum and laid new hardwood floors to match the rest of the house.  Remember when the kitchen looked like this? I barely do. 


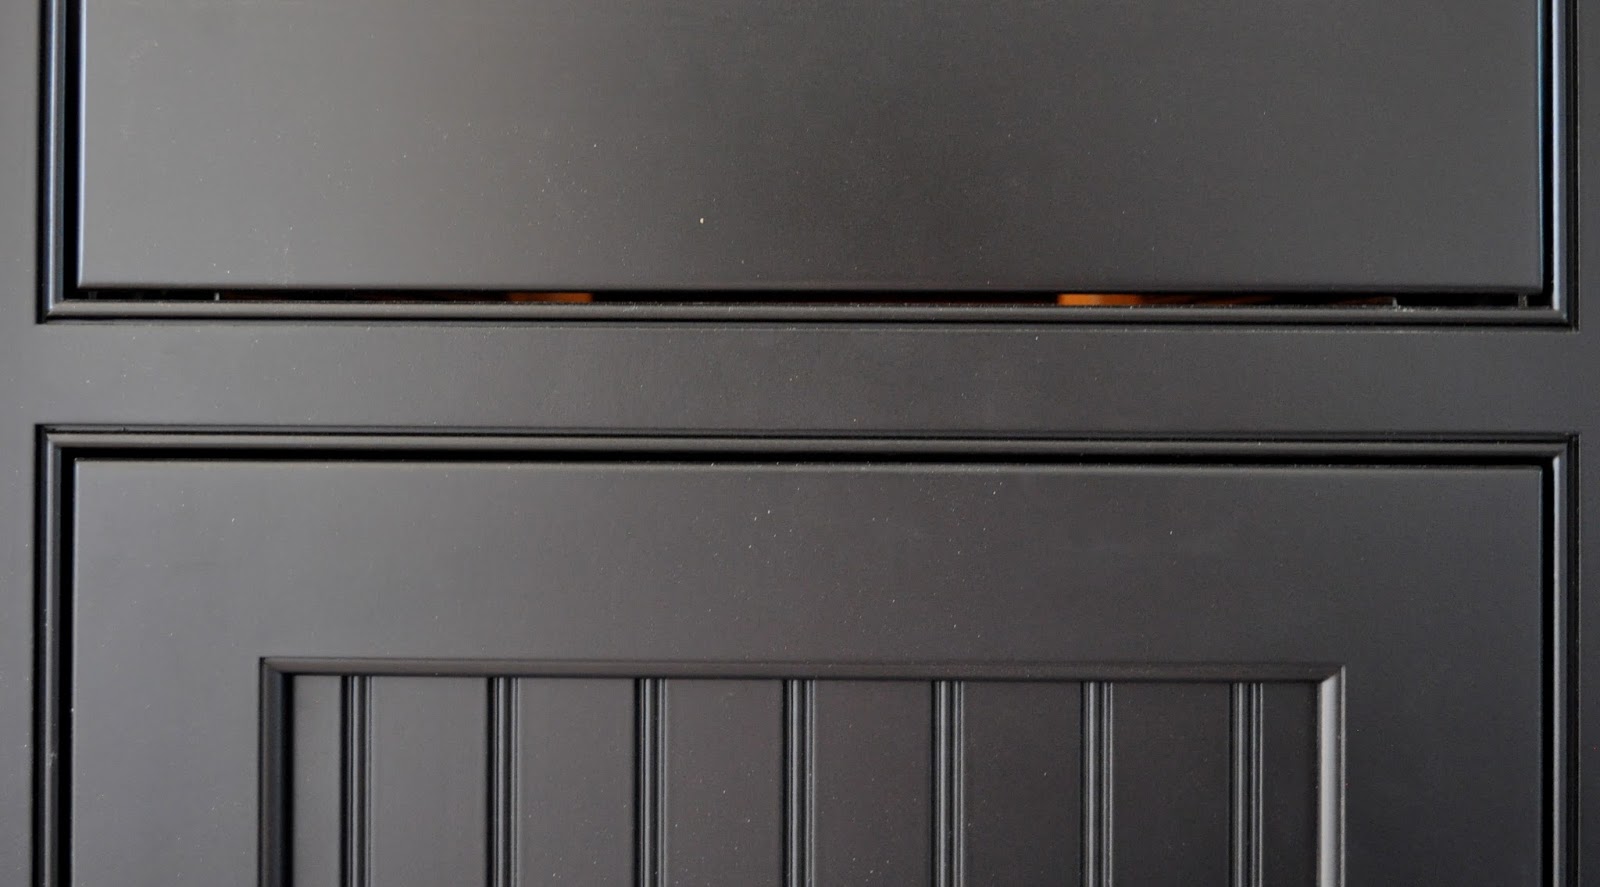
You might remember that I talked a little bit about the cabinets in this post.  We decided to go with inset cabinets.  White Shaker style on the perimeter and black beadboard cabinets on the island.  


For the counter tops we were interested in some type of stone or stone-like material: Corian, Quartz, or Granite.  My sister and brother-in-law were going to look at granite for their own kitchen and invited us to go along too. 

Because we were going with a black and white kitchen, I was looking for something with white undertones, instead of cream -which a lot of granites have.  Truly, I was looking for a granite that looks like cararra marble.  
 
That is Carrara Marble -So pretty.  But so impractical.  Marble is porous and soft.  Not ideal for kitchens.  And I'm married to an engineer, so if it it ain't durable, we (he) ain't interested.  That was another reason we didn't go with the warm and yummy butcher block countertops that I had been crushing on so hard - not as durable as stone. 

So as we marched around the warehouse full of huge slabs of granite, I was a little unsure.  Except for one type that caught my eye.  It is called Silver Wave.  Its black with white and grey veining through it.  Kind of like carrara but the negative of it.  Its pretty but... is it too much, too busy, too bold? I thought it might be until I told the guy helping us that I love carrara marble but that I wanted something more functional.  He pointed me in the direction of a quartz look-a-like and that is how we came up with our combination:

We went with a quartz made to look like carrara marble called Bianco Carrara Quartz on the black island and the Silver Wave Granite on the white cabinets.  The light island counter helps to lighten the heavy weight of the black island and the dark counter helped to ground the perimeter cabinets. 

We love how it has turned out.  

Finally, we decided to go with a simple white subway tile backsplash to keep things simple and clean.  Thanks again to my bro-in-law Nick! Steller work! I love the way it contrasts with the dark countertops. See?

We realize it is only a slight upgrade from the picture on the left but we are pretty happy with it! ;-) 

I love the copper lights too.  One day it just came to me.  Copper.  It's what our kitchen needed.  Every country kitchen does.  But updated (and affordable) copper fixtures are not the easiest to find.  Thankfully my friends at Wabash Electric had just what I was looking for.  I think they are beautiful and add some much needed warmth to the room.  

And that's where we are! Last night was our first night here and tonight we had our first meal here.  Domino's day old pizza heated in the toaster oven.  Don't judge, we are still living out of boxes.  

So we made it in before Christmas, and that is a very good thing.  I probably would have suffered deep and unrepairable emotional damage if we hadn't been able to be in our home at Christmas. 

Wow, that was a gross exaggeration. Sorry about that.  Ridiculous.

On that note, hope you all have a very Merry Christmas! Michael and I will be celebrating with friends and family for the next couple of days! Looking forward to it! 


For any of you who are interested I thought I would start giving a resource list of where we purchased things in case you are getting geared up for your own projects. 

Resource List
Counters: Silver Wave Granite and Bianco Carrara Quartz - Classic Marble & Stone
Lighting: Wabash Electric
Electrical and Plumbing: Crist Plumbing and Heating
Sink: Kohler Whitehaven Single Basin sink
Backsplash: Daltile 3x6 white tile Home Depot (and the ReStore! Holla!)
Faucet: Lowes
Appliances: Sears, Refrigerator is LG, range and dishwasher are Kenmore

Sunday, December 15, 2013

A Little Christmas

How is your holiday season going? 
I have to say, mine has probably been one of the hardest I have had.  Between work, the passing of my grandma, various Christmas parties, and finishing up phase 1 of a huge house renovation (and moving!!), there has been little time or means of getting into the holiday spirit.  Seeing everyone post pictures of their Christmas trees and brag about how they have finished their Christmas shopping the day after Thanksgiving leaves me thinking...
What's a girl gotta do to get a little Christmas around here!?

I'll tell you what she's gotta do!
She's gotta do what she's gotta do.
 
And that means:
1.) Shopping online at 3am.  - Amazon and Etsy, I just want to take this moment to say, I love you. 
2.) Listening to Christmas music as often as possible.  - Pandora, you're pretty great too.
3.) Decorating for Christmas before I've even moved one piece of furniture into my home. 

bare bones living room
And it was no easy task.  I had to move 5 chairs, 1 large tote, 6 boxes of varying sizes, 1 microwave, 1 toaster oven, and 7 trash cans (yep, 7! - don't ask why on earth we have 7 large trash cans in our basement). All of those things were piled in front of my Christmas decorations in the basement, but I was bound and determined to get to them!
So I lugged up 5 totes full of Christmas decorations (including the tree) from the basement to the living room and went wild.  And by wild I mean I set up the tree and put up two garlands.  I have no furniture in my home, but hey, I've got my Christmas tree up! It's really all about priorities at this point, people.  Nothing will stand in the way of this girl and her holiday spirit!  


I also put up our stockings on the mantel.  Michael and I started a stocking tradition the first Christmas after we were married.  We bought cheapo felt red stockings and had Michael's grandma embroider "Mr Blough" and "Mrs Blough" respectively.  Then we decided it would be fun to add something to the stockings every year.  So our 2nd married Christmas we added a new pin (I'd rather be smooching my nerdy/crafty husband/wife), and then another (related to our favorite foods - pop-tarts for him, popcorn for me), and another new one was added this year.

 
We thought it would be fun to start making the pins reflect something we did that year.  So this year, we added pins that we bought in Aruba to remember our family vacation last February.  We would really like to continue this tradition with our kids someday. 

So that's pretty much the extent of our holiday decorating thus far.  I look forward to next year when we will be more settled and I can go all out with Christmas... oh buddy!  That's the stuff that dreams are made of! 

Speaking of settling.  Look what is settling into our house!
  
 Our stuff! That's right.  We are finally unpacking! It feels so good!

I'll be back with an update on that some other evening because, right now, I got stuff to do!


Do you guys have Christmas traditions that you are enjoying this year?  How many totes of decorations do you have?

Monday, December 2, 2013

Everything But the Kitchen Sink

Last Christmas, we received a gift. The gift was from Grandma.  Grandma Dorrie was a spry, independent, beautiful mother of 5, grandmother of 9, and great grandmother of 11.  But she also had breast cancer and had been fighting and winning for years now.  But the cancer had begun to become much more stubborn, just like my grandma.  So last Christmas my grandma gave us all a gift, individually enveloped and signed with a "This is between you and me, love gram"  - So we wouldn't post about it on "that facebook".

Michael and I discussed what we were to do with such a gift: we could have put it into retirement, we could have put it toward a trip, but I knew I had to do something with it that was physical.  Something I could look at and touch and use and remember my grandma.  And I knew she would like that too.  So when I knew Michael and I were buying our home and that we were going to renovate it, it seemed like the perfect opportunity to find a place for the gift to always remind us of grandma.  But it couldn't be something replaceable like a light fixture or sofa.  It couldn't be something easily overlooked like a piece of impersonal art.  Or even something hyper-practical wouldn't do.  It had to be something central, used daily, beautiful, and something I have always dreamed of having.  There was really just one thing that fit the bill.  The Kitchen Sink. 
 farmhouse sink
So, in my post-Christmas thank you letter to her, I sent her back this picture and told her proudly that we would be using her gift to purchase this sink for our new home.  She was so happy to know that we purchased something that we would have a use for in our daily lives.   

And the last time my grandma ever came for a visit, she got to see the sink - I made sure of it.  Covered with a dropcloth, and plastic still covering it protectively, she saw it.  

Then, only a month and a half later, the cancer took her.  My grandma passed away. 

I know she is in heaven now, praying for us even more diligently than she ever had before.  We always said "she has a direct line to Heaven" and now we know she is up there with The Father, celebrating a life lived in obedience to Him. 

So now, I have a kitchen sink that reminds me of her.  The cast iron material reminds me of her strength, fighting strongly against cancer.  The white color reminds me of her beautiful silver and white hair, it always looked prestine.  The large basin reminds me of her deep love for her family and God.

Simply put, I see everything but the kitchen sink.

We morned the loss of my grandma today- as we will in the days ahead- but we celebrate her life also, and the new life she has with The Father above - absent of pain and cancer.

I love you grandma!  And thanks again for the gift. 

Monday, November 25, 2013

Trim

Trim.  It needs no introduction (in my mind).  But maybe you feel differently.


When I think of our trim I think of two words: Big and Beautiful.  Like Queen Latifah!


Ok, maybe not.  And before I start comparing the flooring to some other 90's rapper, I think its time to move on.

I don't want this to be a whine-fest about how much work our trim is (and believe me, its a lot of work) because, I have to say, I'm absolutely in love with our trim. I think it is beautiful and I think it is making our house beautiful.  In other words, trim is important to me and therefore worth all the work.


The reason the trim is so important to us can be better explained by looking back at our house hunting must-have list.  Michael and I really wanted an older home.  Something built prior to 1940, something with lots of character.  And what did we get?  A 1975 basic Cape Cod reno.  Pretty far from the character filled home we were looking for.  So in order to bring this home more in line with what our dream home would look like we decided  to build character into our home.


One of the best ways for us to do that was to upgraded the trim - since we had already torn down the old stuff anyway- and replace it with something that has a much bigger statement to make!


Check out the old stuff...
This window trim screams something but it is not character.  Yikes!


So here's what we did.  We switched out the window to maximize the view of the river.  Added grills to the side windows to fit with the cape code style of the home.  And finally we added large layered moldings around the windows. 


Yeah.. I'm in love.  I can't wait to rip off those stickers and watch the river go by.


Another area we added character was the entryway.  The entryway has a bit of a functional issue that we had to remedy - there is no coat closet (the door on the left goes to the 2nd floor).  And there really was not room to add one when we were moving walls around.  So what we did was create a built in coat rack with beadboard.


We obviously have not hung the coat hooks yet, but they will be on the two horizontal pieces.

If we zoom out a bit, you can also see that the entryway was very closed off because of this wall separating it from the living room.


So we opened up the space making it feel much more spacious. And to the opening we added some more big and beautiful trim.  I'm really excited about this! I was inspired by something my mom had installed in her home when she re-did her kitchen.  The molding at the top of the opening is actually a shelf and hidden on the right end of the shelf is an electrical outlet (see the wire sticking up?).  That way we can have lighted garland at Christmas time or whenever else we are feeling festive! And lets be honest, I'm always feelin' festive!


In the bathroom we had another functional problem to solve.  Remember when I talked about our tub Harriett and how we are building in a "bump out" behind her for extra storage? Well here it is, sans Harriett. 


You can kind of see the subtle line where you can lift the lid to the bump out and store things inside of it.  Also, the beadboard goes all the way around the bathroom to add character.


So it is looking like the trim is almost done, huh?  You would be almost right! Steve is going to finish up the big opening between the living room and kitchen/dining room today and then after thanksgiving, he will finish up the dining room and fireplace mantle. And then its done. :-D


Guys, we've been at this since August with the trim. There are so many steps to getting the trim finished... you have no idea.  But you will if you read the rest of this post!


A Step by Step Process for Getting Beautifully Painted Trim


1. Sand - we sanded all the wood trim with 100 grit sandpaper (some by hand and some with a power sander), knocking off sharp edges and any rough spots.  


2. Prime with a primer that works as a filler.  This helps fill in uneven areas and give a nice smooth foundation that sands very well. We used our paint sprayer to expedite this process.
3. Sand -  During this step we used 220 grit.  This was an important step since we used pine and poplar for our trim.  Our paint guys at Snyder Paints (which are fantastic, by the way) helped explain that poplar, especially, has a tendency to have little fingers that pop up after priming so its very important to sand them down before the next step.


4. Install - This has been Steve's forte and something he is amazing at! We are very thankful for his hard work and eye for detail in this area!


5. Fill holes and caulk. - obviously important so you don't see the little nail holes or gaps.  It makes for a clean, finished look. You'll need to get rid of the extra wood filler by sanding too.  Using a foam sanding block like this one has worked really well for us.  I call him my little buddy because I seem to carry him everywhere around the house with me. Don't forget to caulk!
As you can see once sanded and primed again, the filled hole have disappeared!

6. Prim with a sealant.  Yep! We are priming everything again! It is an expensive additional step but we need to seal the wood so it's important not to skip this step.


7. Sand - not kidding...again!! I think that shows just how important it is.  This time we sand with a super fine sand paper- sort of like a scouring pad. And of course every time we sand, we have to wipe down the wood before we paint so we don't get our finish gunked up. 


8. Paint!!! - We have finally made it to this step! We are using a ceramic paint that we got color matched to our kitchen cabinets.  Ceramic paint is supposed to be a great option for trim because of its strength and scrubbability (if that is a word).


It's a lot of work but we are almost done! The bathroom trim is completely finished and everything has it's second coat of primer - Thanks Emily and Cory Bender!!! And Michael and I sprayed the baseboard with the final coat of paint yesterday.  We had to get that done because the cardboard protection is coming off the floor Tuesday so they can add the last coat of sealant on the hardwoods Wednesday.  And once that is done, do you know what that means?

 We can move in!! 


Now that is something to be thankful for!