

I've got a quick little crafty project for all y'alls today.
This is something I have been doing since college... personalizing composition notebooks. Michael and I use composition notebooks a lot for bible study, quiet times, and church. I started decorating my own initially (you know, because I couldn't just enjoy a composition notebook for its functional uses only, it had to be pretty too) but then I started to decorate Michael's too. Of course the differences between decorating my own and his are vastly different. So here is the manly journal that I made for ma man.

And here's how you do it.
Supplies:

Composition notebook
Modge Podge
Paint brush
Paper - 8 1/2 x 11 cardstock works best
Computer/Printer
Paper cutter or scissors are fine too
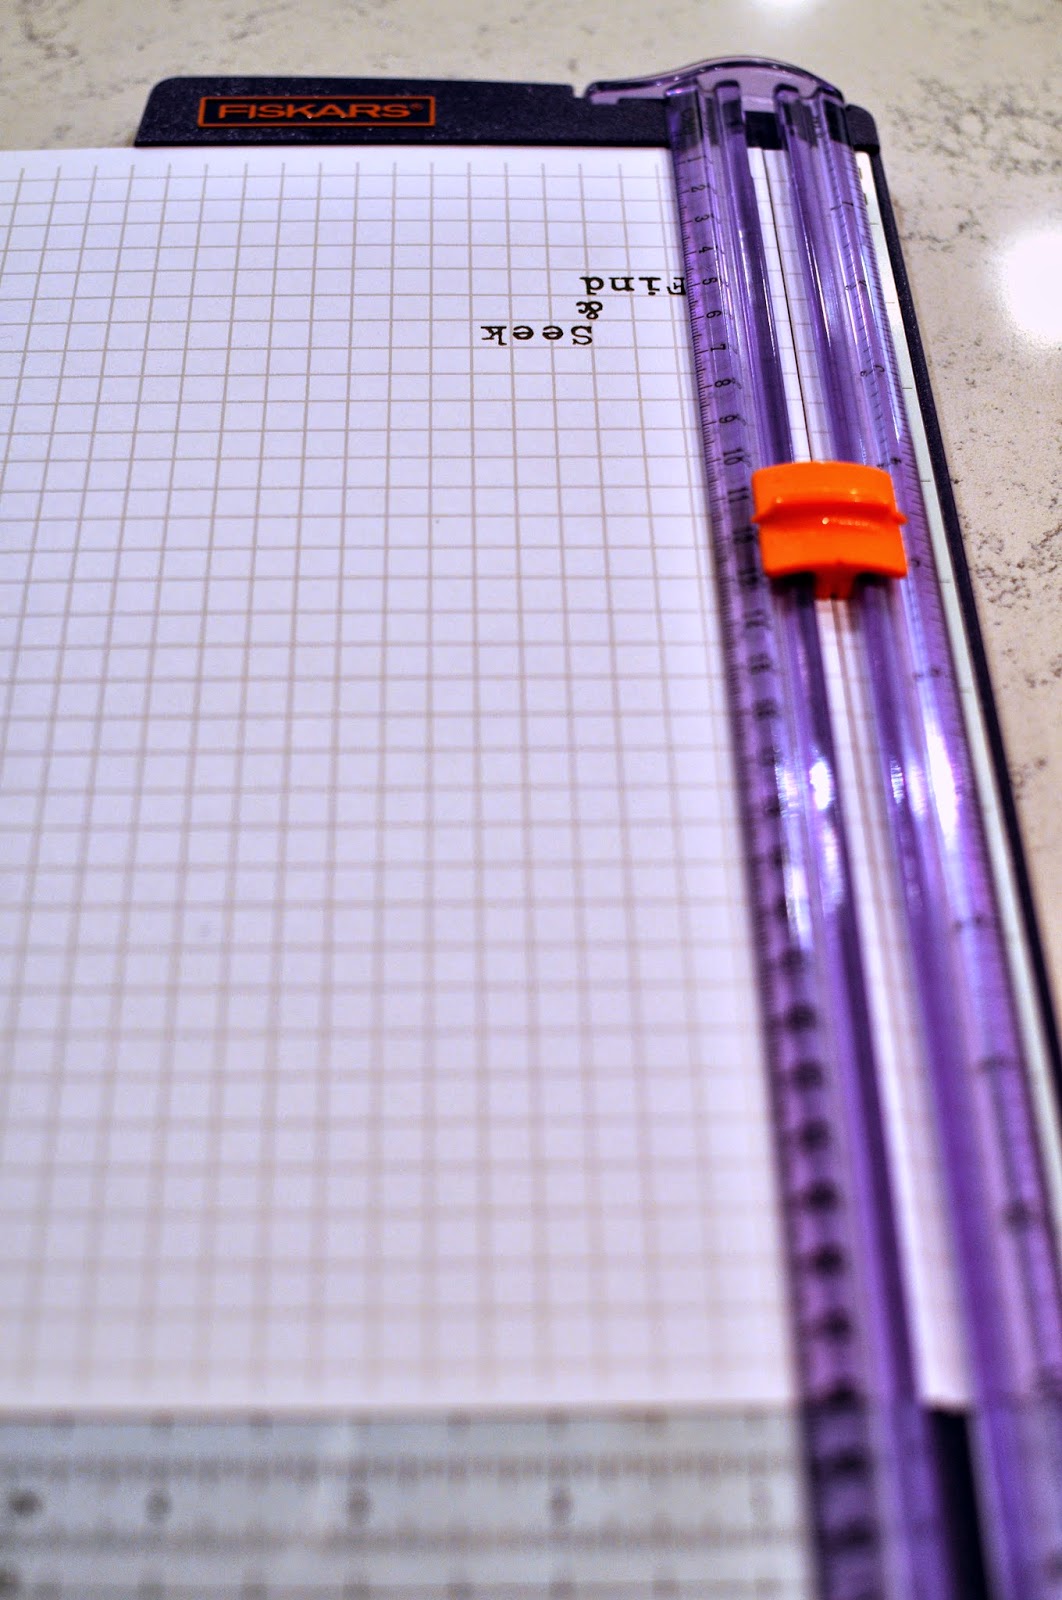
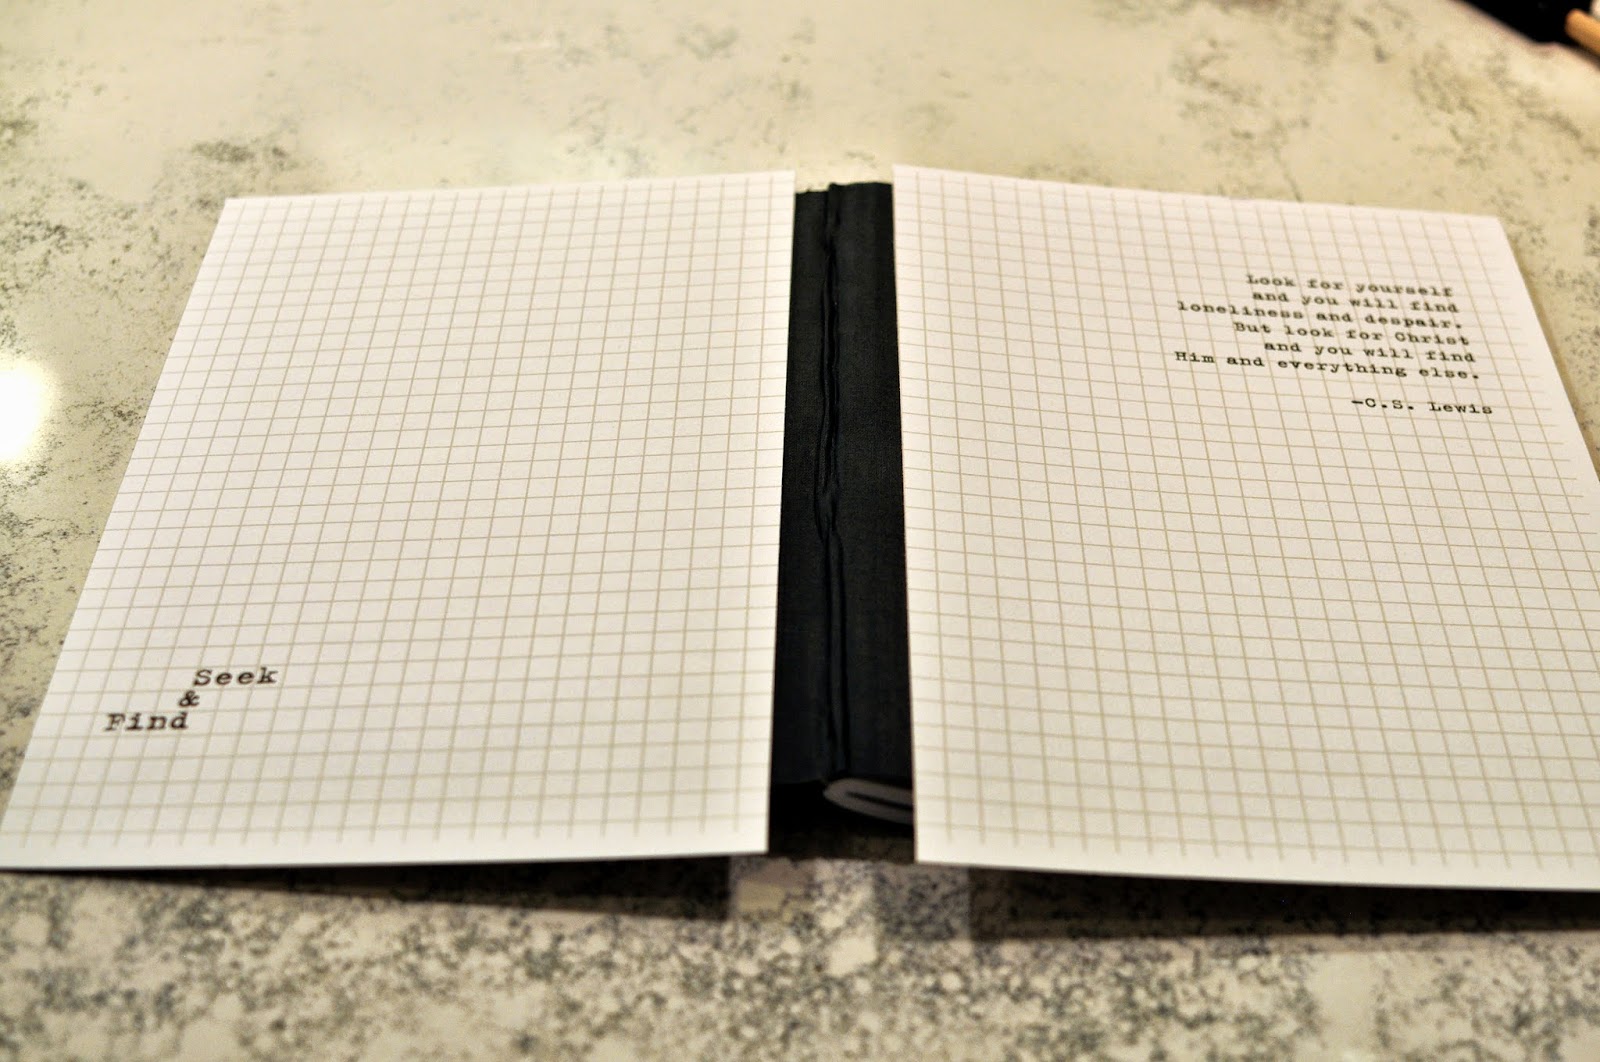
Use your computer to pick out a saying/picture/design that you want on your notebook. This time I used a quote from C.S Lewis. And I wanted the backdrop of the notebook to have a subtle yet manly pattern to it. A subtle, yet, manly pattern for Michael? What about engineering graph paper?! Yes! Totally Michael. So I just searched on google images for engineering graph paper, copied and pasted the image into a word doc and increased the size of it so that it printed as far into the margins as my printer would allow (I tightened my margins as far as I could so I would have the least amount of blank space around my pattern). Then I added my text over the top.
You could also use patterned scrapbooking paper and layer them for a more interesting effect. I have used a paper bag before, I have painted them before, and I have also used fabric. But this time around, simple was what I was looking for.
You could also use patterned scrapbooking paper and layer them for a more interesting effect. I have used a paper bag before, I have painted them before, and I have also used fabric. But this time around, simple was what I was looking for.

Once you've got your design, print that sucker out!
I cut off the margins of the the long side that would be closest to the spine of the notebook - so there was no plain white margin showing. No need to cut the short sides and the other long side since you are going to fold over those sides and glue them to the inside of the cover - you won't see them.
Glue. Using your paint brush (I like foam paint brushes for this), paint on the Modge Podge onto the entire cover of the notebook. Line up and place the paper over the top - making sure you have enough margins along each side to fold over (except the one that is nearest the spine of the notebook, that just gets glued in place). Press down. Be careful of getting wrinkles in the paper. You may get some but the best way to avoid it is to use heavier paper. The thinner the paper, the more likely you are to get wrinkles.
Fold the sides over and glue down. I do the short ends first and then the long end. At the corners I try to get them so that the curve of the cover is maintained. Like this in the third picture.

Then, on the inside of the cover I paint on more Modge Podge. Close the cover so that you glue the first page of the notebook to the back side of the cover. This just creates a clean look. If you are a better crafter than I, you could cut some cardstock and glue that on instead. But I'm lazy, so I'm stickin with the original plan. You get lots of air bubbles when you do this but they don't bother me much since they are on the inside of the cover (see previous sentence).

Repeat process for back cover.
And then you're done and you can enjoy your new and improved and personalized notebook!


Full disclosure: the above picture is a bit misleading because, Michael doesn't even drink coffee! But it just made more sense for the purposes of this tutorial if there was a cup of coffee sitting there (why? Don't ask me, I just work here). So I added cream and sugar and drank it myself -maybe some day I will be a grown up and drink my coffee black - but until then I will just keep personalizing composition notebooks, blogging, and drinking my coffee sweet and smooth.

I love that when Michael is getting to the end of one notebook, he lets me know and asks me to start working on his next one. So sweet that he values this little thing that I do for him. That makes me feel really good. I think I'll keep him ;-)
The great thing about this craft is that there are about a million different ways you could do it! Here are all the ones I have made over the years.
 And another great thing about this little craft? The cost is so close to nothing!
For me? It was free because I had all the stuff.
For you? Maybe $10-15 initially to buy all the supplies which, maybe, isn't an awesome deal but then you can make a million more of them for free, it's a long term win!
I have also done this same thing with smaller composition notebooks and used it as a little engagement gift. It's great to keep track of bridal shower and wedding gifts, to jot down to-do lists and shopping lists. This is the one I made one for myself and it was helpful in keeping track of the gifts all in one nice, tidy, and tiny little place.

There really are endless uses for a decorated and personalized composition notebook. What are your ideas?
Don't miss a beat.
{Follow this blog on Bloglovin'}

-or-
{Follow this blog via Email}
I was diagnosed as HEPATITIS B carrier in 2013 with fibrosis of the
ReplyDeleteliver already present. I started on antiviral medications which
reduced the viral load initially. After a couple of years the virus
became resistant. I started on HEPATITIS B Herbal treatment from
ULTIMATE LIFE CLINIC (www.ultimatelifeclinic.com) in March, 2020. Their
treatment totally reversed the virus. I did another blood test after
the 6 months long treatment and tested negative to the virus. Amazing
treatment! This treatment is a breakthrough for all HBV carriers.
महाकालसंहिता कामकलाकाली खण्ड पटल १५ - कामकलाकाल्याः प्राणायुताक्षरी मन्त्रः
ReplyDeleteओं ऐं ह्रीं श्रीं ह्रीं क्लीं हूं छूीं स्त्रीं फ्रें क्रों क्षौं आं स्फों स्वाहा कामकलाकालि, ह्रीं क्रीं ह्रीं ह्रीं ह्रीं हूं हूं ह्रीं ह्रीं ह्रीं क्रीं क्रीं क्रीं ठः ठः दक्षिणकालिके, ऐं क्रीं ह्रीं हूं स्त्री फ्रे स्त्रीं ख भद्रकालि हूं हूं फट् फट् नमः स्वाहा भद्रकालि ओं ह्रीं ह्रीं हूं हूं भगवति श्मशानकालि नरकङ्कालमालाधारिणि ह्रीं क्रीं कुणपभोजिनि फ्रें फ्रें स्वाहा श्मशानकालि क्रीं हूं ह्रीं स्त्रीं श्रीं क्लीं फट् स्वाहा कालकालि, ओं फ्रें सिद्धिकरालि ह्रीं ह्रीं हूं स्त्रीं फ्रें नमः स्वाहा गुह्यकालि, ओं ओं हूं ह्रीं फ्रें छ्रीं स्त्रीं श्रीं क्रों नमो धनकाल्यै विकरालरूपिणि धनं देहि देहि दापय दापय क्षं क्षां क्षिं क्षीं क्षं क्षं क्षं क्षं क्ष्लं क्ष क्ष क्ष क्ष क्षः क्रों क्रोः आं ह्रीं ह्रीं हूं हूं नमो नमः फट् स्वाहा धनकालिके, ओं ऐं क्लीं ह्रीं हूं सिद्धिकाल्यै नमः सिद्धिकालि, ह्रीं चण्डाट्टहासनि जगद्ग्रसनकारिणि नरमुण्डमालिनि चण्डकालिके क्लीं श्रीं हूं फ्रें स्त्रीं छ्रीं फट् फट् स्वाहा चण्डकालिके नमः कमलवासिन्यै स्वाहालक्ष्मि ओं श्रीं ह्रीं श्रीं कमले कमलालये प्रसीद प्रसीद श्रीं ह्रीं श्री महालक्ष्म्यै नमः महालक्ष्मि, ह्रीं नमो भगवति माहेश्वरि अन्नपूर्णे स्वाहा अन्नपूर्णे, ओं ह्रीं हूं उत्तिष्ठपुरुषि किं स्वपिषि भयं मे समुपस्थितं यदि शक्यमशक्यं वा क्रोधदुर्गे भगवति शमय स्वाहा हूं ह्रीं ओं, वनदुर्गे ह्रीं स्फुर स्फुर प्रस्फुर प्रस्फुर घोरघोरतरतनुरूपे चट चट प्रचट प्रचट कह कह रम रम बन्ध बन्ध घातय घातय हूं फट् विजयाघोरे, ह्रीं पद्मावति स्वाहा पद्मावति, महिषमर्दिनि स्वाहा महिषमर्दिनि, ओं दुर्गे दुर्गे रक्षिणि स्वाहा जयदुर्गे, ओं ह्रीं दुं दुर्गायै स्वाहा, ऐं ह्रीं श्रीं ओं नमो भगवत मातङ्गेश्वरि सर्वस्त्रीपुरुषवशङ्करि सर्वदुष्टमृगवशङ्करि सर्वग्रहवशङ्करि सर्वसत्त्ववशङ्कर सर्वजनमनोहरि सर्वमुखरञ्जिनि सर्वराजवशङ्करि ameya jaywant narvekar सर्वलोकममुं मे वशमानय स्वाहा, राजमातङ्ग उच्छिष्टमातङ्गिनि हूं ह्रीं ओं क्लीं स्वाहा उच्छिष्टमातङ्गि, उच्छिष्टचाण्डालिनि सुमुखि देवि महापिशाचिनि ह्रीं ठः ठः ठः उच्छिष्टचाण्डालिनि, ओं ह्रीं बगलामुखि सर्वदुष्टानां मुखं वाचं स्त म्भय जिह्वां कीलय कीलय बुद्धिं नाशय ह्रीं ओं स्वाहा बगले, ऐं श्रीं ह्रीं क्लीं धनलक्ष्मि ओं ह्रीं ऐं ह्रीं ओं सरस्वत्यै नमः सरस्वति, आ ह्रीं हूं भुवनेश्वरि, ओं ह्रीं श्रीं हूं क्लीं आं अश्वारूढायै फट् फट् स्वाहा अश्वारूढे, ओं ऐं ह्रीं नित्यक्लिन्ने मदद्रवे ऐं ह्रीं स्वाहा नित्यक्लिन्ने । स्त्रीं क्षमकलह्रहसयूं.... (बालाकूट)... (बगलाकूट )... ( त्वरिताकूट) जय भैरवि श्रीं ह्रीं ऐं ब्लूं ग्लौः अं आं इं राजदेवि राजलक्ष्मि ग्लं ग्लां ग्लिं ग्लीं ग्लुं ग्लूं ग्लं ग्लं ग्लू ग्लें ग्लैं ग्लों ग्लौं ग्ल: क्लीं श्रीं श्रीं ऐं ह्रीं क्लीं पौं राजराजेश्वरि ज्वल ज्वल शूलिनि दुष्टग्रहं ग्रस स्वाहा शूलिनि, ह्रीं महाचण्डयोगेश्वरि श्रीं श्रीं श्रीं फट् फट् फट् फट् फट् जय महाचण्ड- योगेश्वरि, श्रीं ह्रीं क्लीं प्लूं ऐं ह्रीं क्लीं पौं क्षीं क्लीं सिद्धिलक्ष्म्यै नमः क्लीं पौं ह्रीं ऐं राज्यसिद्धिलक्ष्मि ओं क्रः हूं आं क्रों स्त्रीं हूं क्षौं ह्रां फट्... ( त्वरिताकूट )... (नक्षत्र- कूट )... सकहलमक्षखवूं ... ( ग्रहकूट )... म्लकहक्षरस्त्री... (काम्यकूट)... यम्लवी... (पार्श्वकूट)... (कामकूट)... ग्लक्षकमहव्यऊं हहव्यकऊं मफ़लहलहखफूं म्लव्य्रवऊं.... (शङ्खकूट )... म्लक्षकसहहूं क्षम्लब्रसहस्हक्षक्लस्त्रीं रक्षलहमसहकब्रूं... (मत्स्यकूट ).... (त्रिशूलकूट)... झसखग्रमऊ हृक्ष्मली ह्रीं ह्रीं हूं क्लीं स्त्रीं ऐं क्रौं छ्री फ्रें क्रीं ग्लक्षक- महव्यऊ हूं अघोरे सिद्धिं मे देहि दापय स्वाहा अघोरे, ओं नमश्चा ameya jaywant narvekar